Creating a Facebook-inspired login page using HTML and CSS is a great way to practice front-end web development skills. In this tutorial, you will learn how to create exactly and responsive Facebook login page UI using just HTML & CSS from scratch.
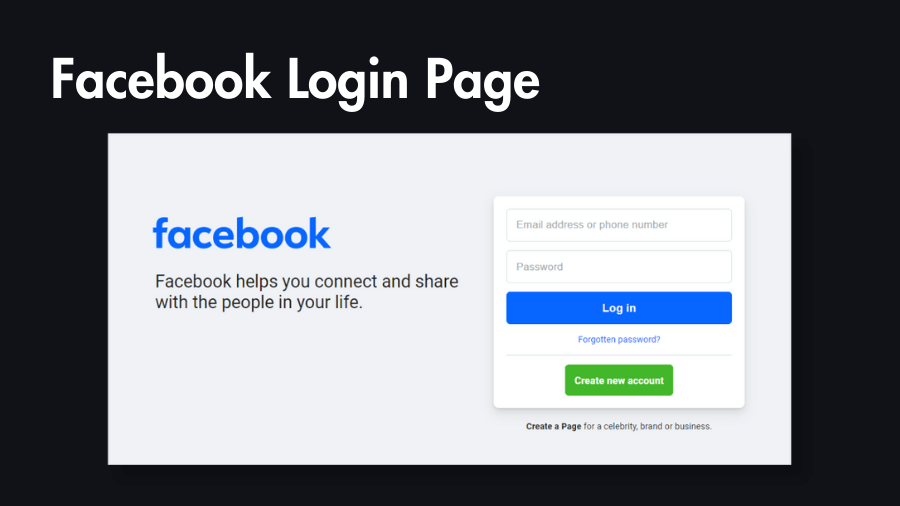
Build Facebook Login Page Using HTML And CSS
Prerequisites to build this Facebook Login Page UI
- Basic knowledge of HTML and CSS.
- A text editor (e.g., Visual Studio Code, Sublime Text).
- Web browser for testing.
Step 1: Write Basic HTML Structure for the FB Login Page
Open your text editor and create a new HTML file (e.g., index.html). Begin by setting up the basic structure of your HTML document.
<!DOCTYPE html>
<html lang="en">
<head>
    <meta charset="UTF-8">
    <meta name="viewport" content="width=device-width, initial-scale=1.0">
    <title>Facebook Login Page</title>
    <link rel="stylesheet" href="./styles.css">
</head>
<body>
    <!-- Your content will go here -->
</body>
</html>
Step 2: Add HTML Code for the Facebook Login Form to the Structure
Inside the <body> tag, let’s start building the login form. Include input fields for email/phone and password, along with the login button.
<div class="container">
    <div class="wrapper">
        <div class="brand">
            <div class="logo">
                <img
                    class="img"
                    src="https://static.xx.fbcdn.net/rsrc.php/y1/r/4lCu2zih0ca.svg"
                    alt="Facebook"
                />
            </div>
            <h2 class="heading">
                Facebook helps you connect and share with the people in
                your life.
            </h2>
        </div>
        <div class="user-action">
            <div class="form-container">
                <form>
                    <div class="form-wrapper">
                        <input
                            type="email"
                            class="inputtext"
                            placeholder="Email address or phone number"
                            autofocus="1"
                        />
                        <input
                            type="password"
                            class="inputtext"
                            placeholder="Password"
                        />
                        <button type="submit">Log in</button>

                        <div class="forgot-password">
                            <a href="#">Forgotten password?</a>
                        </div>
                    </div>

                    <div class="create-account">
                        <a href="#">Create new account</a>
                    </div>
                </form>
            </div>
            <div class="create-page">
                <a href="#">Create a Page</a>
                for a celebrity, brand or business.
            </div>
        </div>
    </div>
</div>
Step 3: Style the FB Login Page with CSS
Create a new CSS file (e.g., styles.css) to add styles to your login page.
@import url("https://fonts.googleapis.com/css2?family=Roboto:wght@400;700&display=swap");

* {
    box-sizing: border-box;
}

body {
    font-family: "Roboto", sans-serif;
    background: #f0f2f5;
    color: #1c1e21;
}

input,
button,
a {
    outline: none;
}

a {
    text-decoration: none;
}

a:hover {
    text-decoration: underline;
}

.container {
    padding-top: 72px;
}

.container .wrapper {
    display: flex;
    gap: 20px;
    padding: 20px;
    overflow: hidden;
    max-width: 980px;
    margin: 0 auto;
}

.brand .logo {
    display: block;
    direction: ltr;
}

.logo img {
    max-width: 350px;
    margin-left: -36px;
}

.heading {
    font-weight: 400;
    font-size: 28px;
    margin: 0;
}

.form-container {
    background-color: white;
    border-radius: 8px;
    box-shadow: 0 2px 4px rgba(0, 0, 0, 0.1), 0 8px 16px rgba(0, 0, 0, 0.1);
    padding: 20px;
    min-width: 400px;
}

.form-wrapper {
    display: flex;
    flex-direction: column;
    gap: 14px;
}

.inputtext {
    background: #ffffff
        url(https://static.xx.fbcdn.net/rsrc.php/v3/yU/r/O7nelmd9XSI.png)
        repeat-x;
    border: 1px solid #dddfe2;
    padding: 15px;
    border-radius: 6px;
    font-size: 17px;
    color: #1d2129;
}

.inputtext::-moz-placeholder {
    color: rgb(164, 167, 171);
}

.inputtext::placeholder {
    color: rgb(164, 167, 171);
}

.inputtext:focus {
    box-shadow: 0 0 0 2px #e7f3ff;
    border-color: #0866ff;
    caret-color: #0866ff;
}

button[type="submit"] {
    background: #0866ff;
    color: white;
    border-radius: 6px;
    border: 0;
    padding: 15px;
    font-size: 18px;
    font-weight: 700;
    cursor: pointer;
}

button[type="submit"]:hover {
    opacity: 0.9;
}

.forgot-password {
    text-align: center;
    border-bottom: 1px solid #dadde1;
    padding-bottom: 15px;
}

.forgot-password a {
    color: #0866ff;
    font-size: 14px;
}

.create-account {
    text-align: center;
    padding-top: 15px;
}

.create-account a {
    display: inline-block;
    background: #42b72a;
    color: #ffffff;
    font-weight: 700;
    padding: 15px;
    border-radius: 6px;
    text-decoration: none !important;
}
.create-account a:hover {
    background: #00a400;
}

.create-page {
    padding: 20px;
    text-align: center;
    font-size: 14px;
}

.create-page a {
    color: #1c1e21;
    font-weight: 700;
}

@media only screen and (max-width: 900px) {
    .container {
        padding: 0;
    }
    .container .wrapper {
        flex-direction: column;
        max-width: 400px;
    }
    .form-container {
        min-width: unset;
    }
    .brand {
        display: flex;
        flex-direction: column;
        align-items: center;
    }
    .brand img {
        width: unset;
        margin: unset;
        margin-top: -20px;
    }
    .brand .heading {
        font-size: 24px;
        text-align: center;
    }
}
Step 4: View Your Facebook Login Page in a Browser
Save both files in the same directory and open the index.html file in a web browser. You should see a basic Facebook login page.
Congratulations! You’ve successfully built a Facebook login page using HTML and CSS. This tutorial provides a foundation that you can expand upon by adding more features and enhancing the visual design. Keep exploring and refining your web development skills. Happy coding!